
1. Getting Caught in Bad Weather – Pack a space blanket
NASA uses the same technology to survive in space. Space blankets or emergency blankets are often found in survival kits because they are extremely lightweight and useful. Space blankets are typically made of Mylar, which DuPont developed in the 1950s and is used extensively by NASA to shield vehicles in space. It is comprised of a thin sheet of plastic coated with a highly reflective metal.
I think the risk of getting caught out in bad weather increases among casual day hikers. Backpackers will probably be carrying enough kit to survive bad weather.
A day hiker may start on a trail with a cell phone and a water bottle with little planning and, in two hours, gets caught in plummeting temperatures and sheets of rain. A space blanket, in this case, could literally save your life.
Space blankets are small enough to fit in your pocket and can be used to keep you warm, keep you dry, signal overhead search and rescue, reflect heat from a fire, reinforce a shelter, catch rainwater, and the list goes on.
Get an emergency blanket from REI for less than $10.
I suggest carrying a space blanket with you on every trip.
2. Losing the Hiking Path – Use bright flagging tape
One summer, I hiked all over the Gifford Pinchot National Forest in the shadow of Mt St. Helens in Washington State while assisting a research team working on the nesting patterns of the Northern Goshawk. We hiked off-trail more than we did on the trail and the flagging tape was essential for finding our way.
Flagging tape typically comes in flat, round roles about one inch thick and two or three inches in diameter. It is a soft, stretchy ribbon (not adhesive tape) that you can easily rip off from the roll by pulling on it. Here are some steps and pointers for effectively using flagging tape when you move off-trail.
- Rip off a piece that is long enough to tie and provide a well visible marker. Twelve to eighteen inches is better.
- Tie the tape at eye level so that You can see it from nearly all directions. Avoid tying it too close to the trunk of a large tree since it will be blocked from view.
- It would help if you had a long streamer hanging down that will be easy to spot. It should move with the breeze.
- Place your flagging tape often enough so that you will be able to spot the next marker when you retrace your steps.
I have used another technique for flagging that involves shaving strips of bark from trees (referred to as blazing), but it was an emergency. It would be best if you had a knife, but the concept is similar to flagging tape. You leave bright patches of white inner tree layers that contrast against the darker tree bark.
You must be sure you are blazing the side of the tree you will see on your return. I don’t support the technique of blazing because it breaks the hiker motto of leaving no trace, but in an emergency, it can be effective for retracing your steps and finding your last location.
You can get flagging tape at big box DIY stores like the Home Depot or Lowes.
3. Dehydration – Drink two liters of water before you hike
In all of these problems and solutions, I have tried to provide easy things you can do BEFORE you find yourself in a sticky situation. Drinking two liters of water BEFORE you hike is such an easy thing to do and can really extend your hydration on the trail.
I know that when I hike fast, I can lose about two and a half pounds of water per hour in warm conditions. That is more than one liter per hour. I wrote an entire post about how much water our bodies use while hiking and how to measure yourself. Read that post to see a simple technique you can do to see how much water your body uses when you walk.
Here is a video about this on my YouTube channel.
Try to drink the two liters of water over an hour or so instead of all at once. Your body will retain more of it. By drinking two liters or more of water you start your hike off in a fully hydrated state.
If you are new to hiking, it can be easy to forget to drink enough water because you get caught up in the activity and the natural beauty around you.
Fatigue can often be attributed to dehydration among hikers. Stay hydrated and stay motivated.
4. Foot Blisters – Do 20+ training walks before your hike
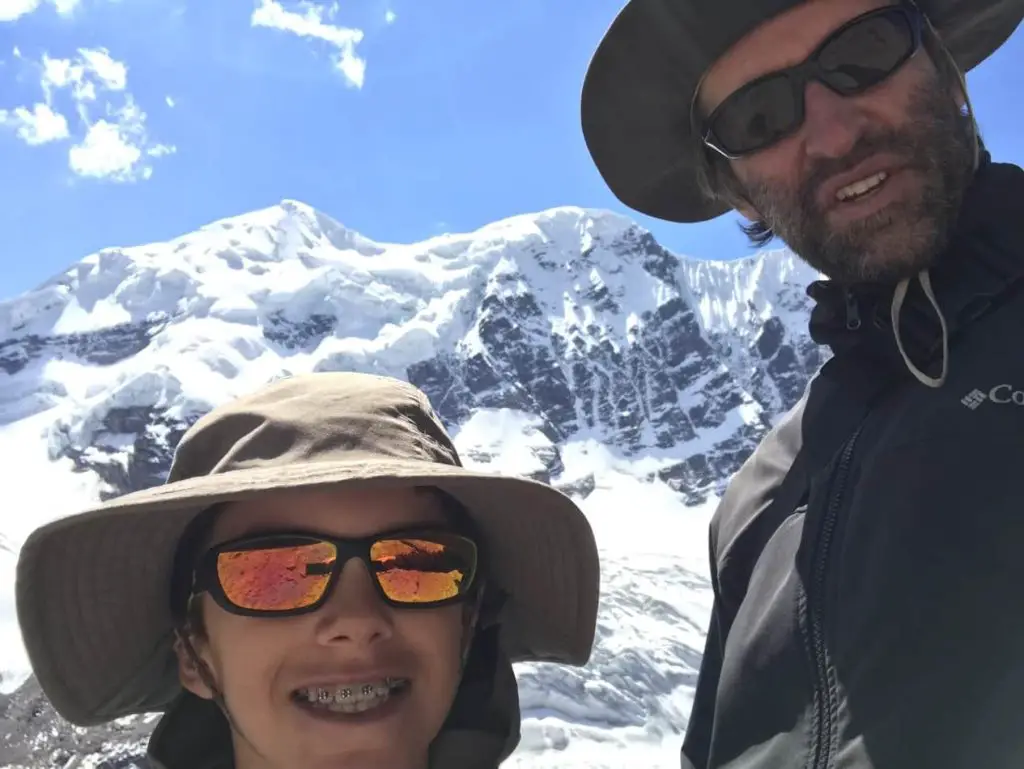
I hiked in Peru in 2019. While we were there we also did a five-day trek around Ausangate where we hiked about 6-8 hours per day. I had zero problems with blisters and none of my training walks were more than three and half hours long.
To avoid blisters you must prepare your body for the abuse and this is really important for your feet. Do at least 20 training walks with the shoes and socks you plan on using for your hike.
Training walks provide at least three really important benefits.
- Training walks toughen up your feet which helps you avoid blisters on the trail.
- Training walks break in your footwear which also helps you avoid blisters on the trail.
- Training walks make you stronger. Being strong helps avoid changing your gate, which could then cause uneven footfalls and eventual blistering.
You can check out the training schedule that I followed to blast through five days at elevations ranging from 14,000 feet to over 17,000 feet.
5. Fatigue – Eat something every 90 minutes
Let’s face it. Most of us are hobbyist hikers. We hike for fun on the weekends to get outside and change the scenery. Because of this, we are not used to walking for more than one hour or so. On the other hand, while hiking you may walk all day. This level of exertion can easily wear you down and become a real problem on a long hike.
Bring snacks with you and nibble on them every 90 minutes or so. This will replace the calories you are burning. I prefer trail mix because it is cheap and effective. A mix of nuts, raisins, and M&Ms gives you a boost of energy that can keep you going when your fuel tanks are empty.
Energy bars work great. You can also bring candy. When I hunted as a child with my father chasing blacktail deer all over Southwest Washington, we would carry black licorice. When my 9-year legs started to wear out, he would slip me a piece to keep me going.
Bring your favorite snack and nibble along the trail. Keeping up your energy will stave off fatigue for a while.
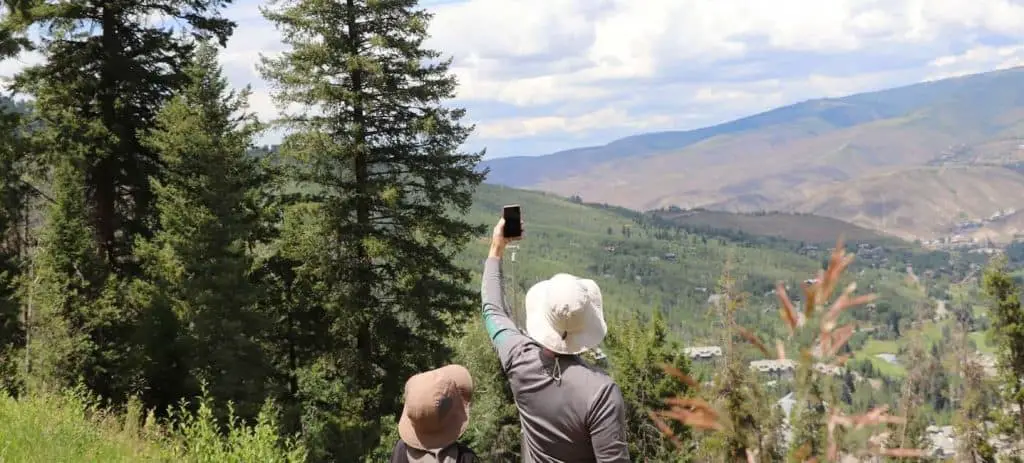
6. Getting Caught in the Dark – Bring a headlamp
Getting caught out in the dark is a widespread problem among hikers. If you hike long enough, it will eventually happen to you too.
You misjudge your pace against the length of the trail. Weather slows your pace. Or your fellow hikers were slower than you expected. These are common scenarios that can lead to the dangerous situation of hiking at night unprepared.
Bring a headlamp with you even for day hikes. Again, I think day hikers are more at risk in these scenarios because they often go unprepared and with too little planning.
Hiking at night can be a real strategy especially on longer, multiday hikes in hot weather biomes. Hiking in the dark though without a light source is very dangerous and should be avoided unless conditions are perfect, like on a cloudless night with a full moon and zero overhead canopy.
The Black Diamond Spot 350 was field-tested by REI and was their top pick for headlamps. Here is a link to it on the REI website.
7. Slipping – Step over and not ON obstacles
Slipping and falling are widespread problems hikers endure in the backcountry. If you hike a lot, you will slip and fall. One straightforward thing you can do to avoid this problem is to step OVER and not ON obstacles in the path.
During my stint as an assistant researcher on the Northern Goshawk the local park rangers provided safety training for hiking in the back country off-trail. The one thing I remember from that training was to step over logs instead of on them.
In some cases, it will be impossible to step over an obstacle. Use common sense. Some of the fallen Douglas firs in Washington state were over four feet in diameter and too big to step over.
As you walk along a path you should be scanning for rocks, roots, and any other trip hazard.
If you are carrying a pack, make sure you don’t have heavier gear dangling from it and swinging around, as this can suddenly shift your center of gravity and cause you to slip and fall.
8. Getting a Tick – Treat your clothes with a tick insecticide
Ticks are nasty, silent blood-sucking insects that bury their heads in your skin without you even noticing it. They carry pathogens and are found all over the world. This is a problem that nearly all hikers face.
A simple and effective solution is to treat your clothing with insecticides designed for ticks and similar insects before you go hiking. Hikers and backpackers often use permethrin to treat clothing and hiking gear such as tents and backpacks.
Like many of the solutions on this list, applying an insecticide to your gear requires planning. Getting a tick is a big motivator for thinking ahead and using this solution to avoid a potentially serious health problem.
REI offers a spray pump Permethrin product from Sawyer.
9. Needing to Rest Too Often – Pace yourself
Whew! You made it this far, and now you should be much more adept at avoiding common problems that hikers face. Congratulate yourself for reading an entire blog post to the end without clicking away to the next shiny object.
If you are hiking along and find that you get winded and need to stop, it could be because you are going too fast. This is a common hiker problem among younger hikers who see the next hill as a contest or race to the top and run out of gas.
Avoid the cycle of going fast, resting, going fast, resting. You will cover much more ground and be more comfortable if you find a pace that you can sustain over a long period of time.
On day two of our epic Ausangate trek in Peru, my son and I slowed down to the rest step while tackling a monster pass that topped out at over 5,000 meters or 17,000 feet. As the name implies, the rest step involves taking one step and then stopping momentarily to let your cardiovascular system and muscles recover before taking the next step. It may sound ridiculous, but when you are at 17,000 feet, it is a gamechanger.
We did not stop for a couple of hours, but we moved at a snail’s pace. Others in our group arrived after us and yet started before us.
Taking breaks is recommended when hiking, but too many breaks may mean that you are hiking too fast and wasting time and energy. Find a pace you can sustain for long periods without taking a break.
